I studied the manual, it seems to be a quick job, no special tools needed, except a special tool to jack up the rear axle (a fixed axle, called de Dion). But here does the manual deviate form my actual car. So I had to be creative to solve this issue. In stead of jacking up the whole axle in one turn, I could do it side by side. The brake lines which I had to disengage, could stay put. Another time saver.
By dismantling the left and right suspension I noticed everything came loose in a jippy. Although the springs where somewhat rusty again. Once the old shocks were out, I compared them with the new ones. Some differences I noticed. Especially the rubber head on top of the shockabsober altered from the old ones. so here too I had to figure out a solution. Also the axle to fit the shocker on the rear axle of the car was wider.
In the old situation in the upper part a metal plate rested on the central axis of the shocker. Two rubber parts above it were closing in the metal of the car, the suspension dome. In het new situation a metal dome shaped plate was the upper side of the shocker. Fixing it with the plate of the old shocker would mean metal clashed to metal. I think that wouldn't be pleasant in the long run. So I made a new rubber piece out of the old shocker and put it on the metal dome piece of the new one.
By disassembling I did not notice the difference between the old and the new absorbers. It seemed that the new mounting cylinder at the bottom of the absorber was wider than the old one. When I assembled the pieces I figured the effect would be minimal. But it was not. The first test run gave a rambling and a on easy sound. So I had to dismantle everything again...

A set of new shocks from Austria

Had to dismantle the rear suspension and axle. The brakes lines could stay in place

The refurbished coil spring after three years

The upper part of the shock to dismantle in the boot

The spring

The inside suspansion chamber, only slighty rusty

My little stove to keep me warm in winter

The top ends of the old (left) en the new shocks
needed some adaptation before mouting again.
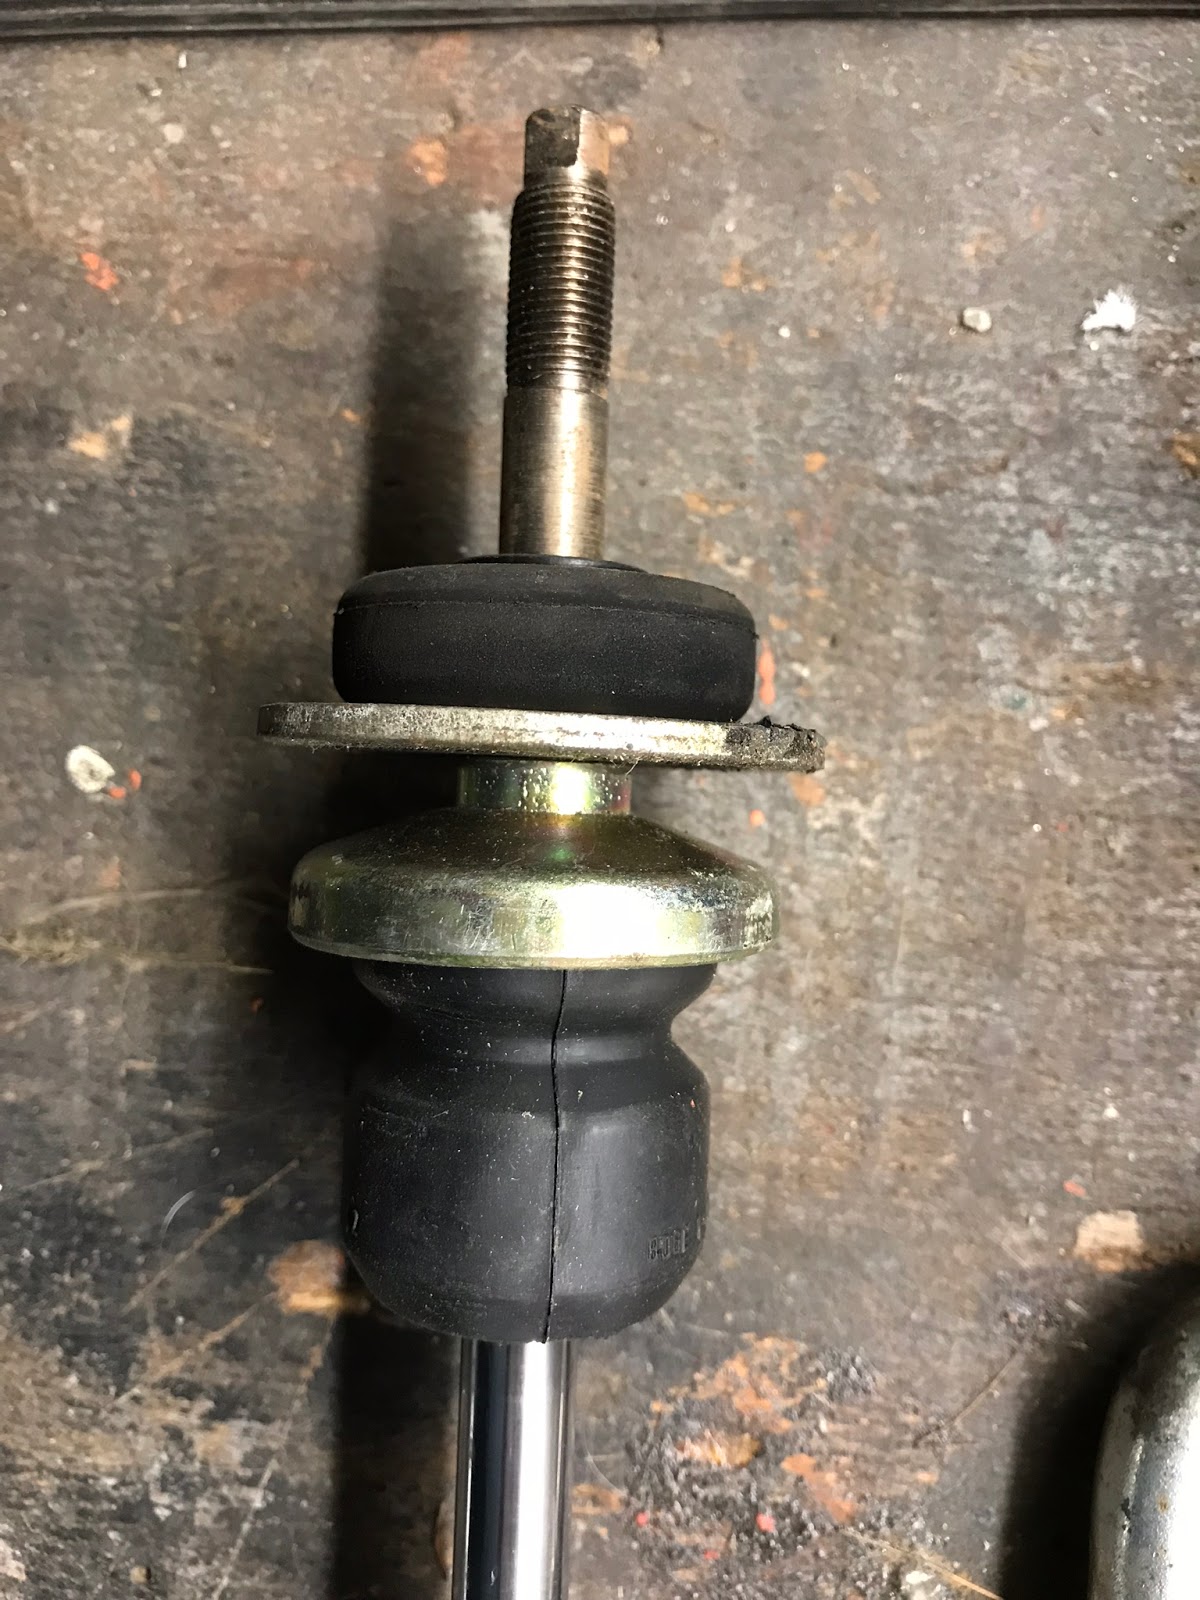
The new shock with the old parts would
make a lot of noise: iron plate on iron dome

Adapted set up with a rubber part on the iron dome, on top of that the rubber parts that hold the shock in place when fitted in the top part of the suspension chamber

The bottom part with the vertical axis, through the axle.

The noise when fitting the old setup in the new shock bush

This new bush was wider than the old.

Thei old bush fitted perfectly